

I created an additional class right after I completed my first class on "Watercolor Roses"
Photo below (from a previous class):

In a previous class you are learning how to paint a "closed rose" which is much easier. You also have a lot of exercises like painting a rose leaf, single rose petals, a rose wet on wet (without a pencil sketch) etc


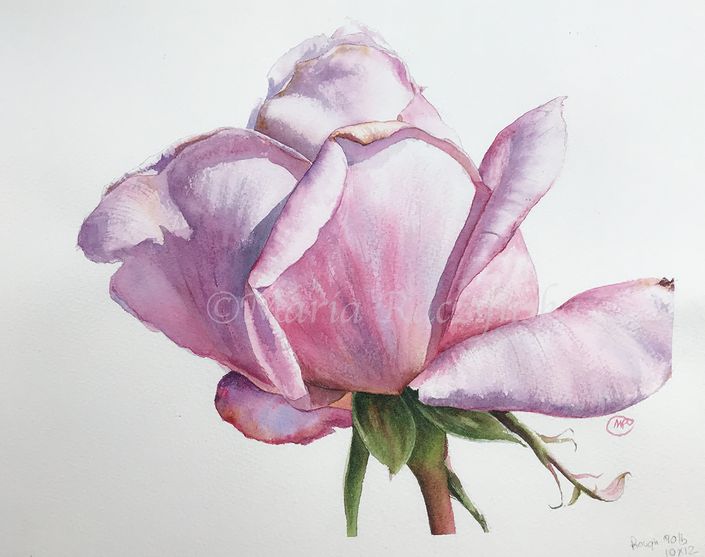
In this class you will learn how to paint a fully bloomed rose in watercolors - open rose.
Photo below:

There's no exercises like in my previous "Watercolor Roses" class. I went straight to the point. First creating a pencil sketch, where you also have an option to download my sketches, then painting process Parts 1 -13.
This is why I am calling it an additional Rose Painting Class.
I hope you will enjoy it :)
Thank you so much for enrolling!
ps. There's a FREE "Watercolor Tips" section at my school. You can enroll for FREE to get more information on different papers, brushes, paints, techniques like wet on wet, wet on dry, blending watercolors, ox gall etc I highly recommend to enroll especially when you are enrolling in one of the paid courses.
Please read all terms of use. Scroll down to the bottom.
Your Instructor
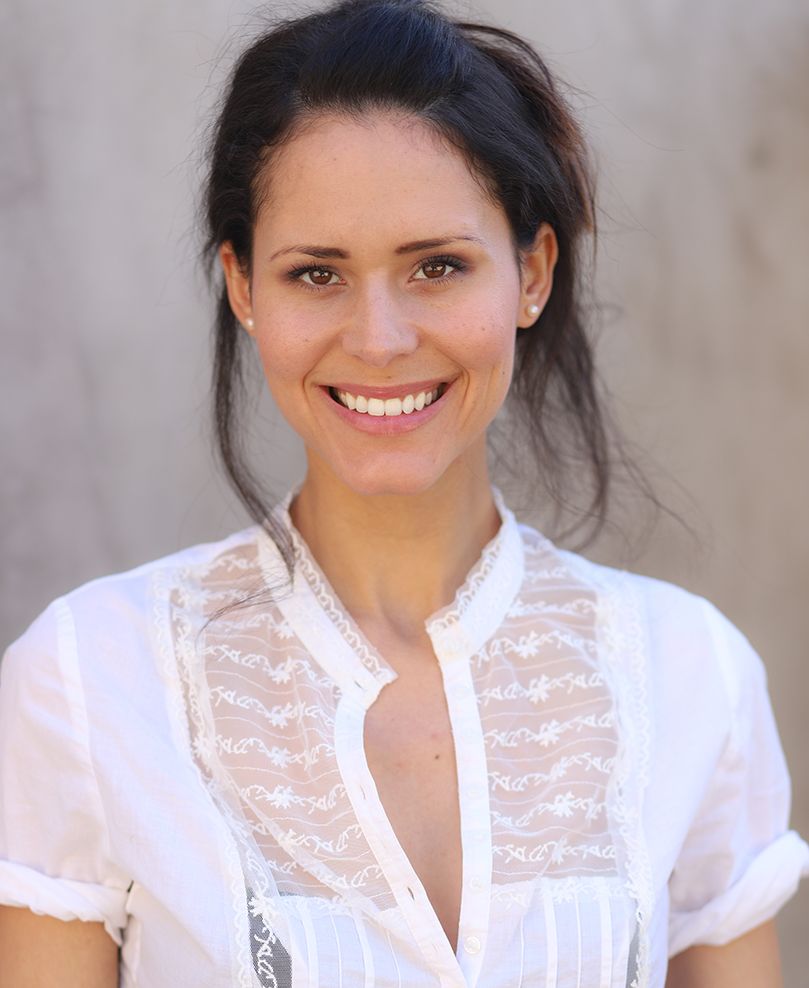
Hi Everyone!
My name is Maria, and I’m a self-taught artist based in Dana Point, CA.
I did a little bit of drawing back in 2003 but I did not really start painting until 2011-2013. What got me in 2011-2013 was the idea of creating my own children’s books. I went to an art store and decided to buy supplies. I loved the idea of using paint and brushes, too.
I got my first set of Reeves and Cotman watercolor tubes. Now, why did I choose brushes and tubes over pencils or pastels...? Well, I did grow up with a mom who’s an oil artist. I watched her paint throughout my entire childhood but I was never drawn to do it myself. Now when I look at my work and style I think some of the brush strokes and techniques have been captured in my mind from watching my mother but also the fact that she was using paint brushes and oils in tubes.
I never liked the smell of it and the mess I remember all over the floor and perhaps this is why I chose Watercolors because they seem “cleaner”. I also liked the idea of using “water” and watercolor paper which makes it even more simple.
I didn’t have any experience. No professional training. I just started to sketch and then use paint out of tubes. At first, I’d use a lot of paint almost no water, I’d paint like I remember my mother painting with oils. Then I started adding water and realized that water makes more sense.
I started practicing a lot and getting better as I was getting more feel of the paint and water. I do have to say that I started off with one of the best watercolor papers out there. While I was shopping I was looking for the smoothest watercolor paper I could find. I had no idea about the texture. I didn’t even want to think about the texture but today I absolutely love Rough and Cold Pressed watercolor papers and all the pounds that come with them!

The only smooth paper I found was Arches Hot Pressed Watercolor paper Pad 9X12. I actually started with a more difficult paper to work with (without knowing it) because when you don’t have the texture you do have to work more on details. You can’t easily get away with small mistakes like painting on Cold Pressed Watercolor Paper that has a texture. I got better with my second children’s book. I published it on Amazon. Today when I look back at it... it’s such a huge difference between my art now and then. I’m very happy with what I have accomplished. I only did two books and then some greeting cards. I got bored with it and didn’t have much motivation to continue painting.

In 2014 I lost my twin brother due to suicide. This was the most tragic event that happened in my life.
A month later I started going through my brother’s saved photo albums and analyzing everything he did in his last days. I tried to understand every photo he had. Beautiful photos of forests, animals.. basically things you see me painting today, but they were more mysterious and sad. I started recreating these photos in my paintings with Watercolors.
I pushed myself very hard to use this medium on different “watercolor surfaces”. I started with wooden panels with proper watercolor groundings, and different textures like cold Pressed, and Rough.
This has become my healing therapy. Painting every day, and pouring my feelings onto the paper.
Then one day a friend of mine saw my artwork and mentioned having my own YouTube channel. I saw a few painting videos and thought maybe I could try that one day. A year later Jan 2016 I did my first video on YouTube I didn’t get much traffic until August 2016. This is when my channel took off. I also started painting in a different way.

Today my art is completely different from when I first started.

Today I love Watercolors for their transparency and vibrancy of colors. I never thought Watercolors can be so colorful and look so rich on paper.

I taught myself how to paint and how to create these vibrant layers.

All the techniques that go with it.
Now I share my videos every week on my YouTube Channel. Pictures on my Instagram, website, etc. I also have weekly tutorials with voiceovers and in-depth real-time classes on Patreon
But Teachable has given me a chance to create more detailed classes.

Here I talk while I am painting where I want you to feel as if you are sitting right next to me.
I invite you to be part of my watercolor class and find your own style of painting with Watercolors. Painting is a pleasure and should never be a struggle.
I want you to enjoy it as much as I do.
YOU CAN PAINT ANYTHING!